PolyPainting in ZBrush R3.5 is very different from R3. It is supposed to be easier but I found out the hard way that it is frustratingly different, not necessarily easier.
Here are the steps:
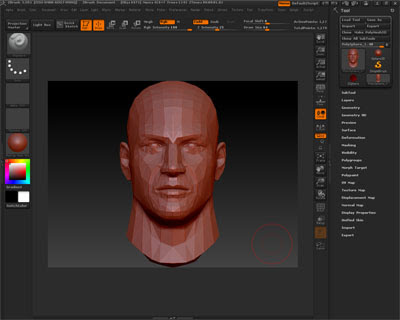
Make sure you already have a 3D mesh modelled, fully UV Unwrapped and exported as .OBJ format. Import this mesh in ZBrush.
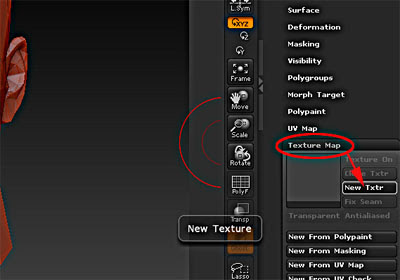
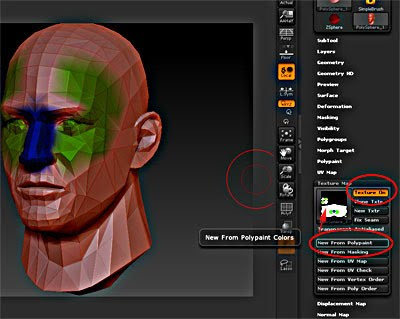
Under Texture Map, click New Texture.
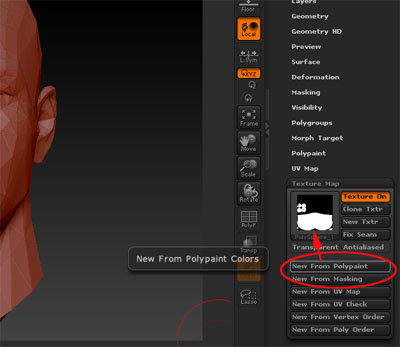
Then click New From Polypaint and you should be getting this upside down UVW Map of your mesh.

As you only want to affect colours and not the mesh itself, remember to turn off ZAdd. The next step is VERY IMPORTANT. Immediately start painting. You will not see anything. Don't worry.
Toggle the texture off and you will see the results of your earlier painting. If you missed the earlier steps and start painting after turning the texture off, the painting looks screwed up.
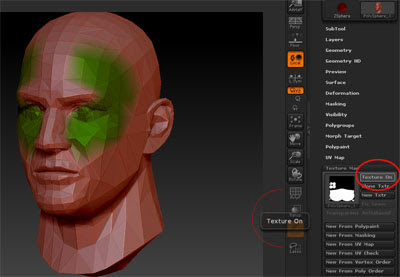
Click New from Polypaint to register the new changes and click Texture On to see the changes.
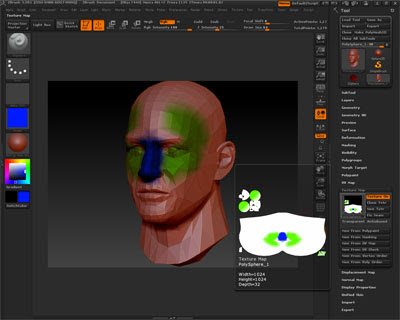
Bring your cursor to the UV thumbnail and you can see the details painted.
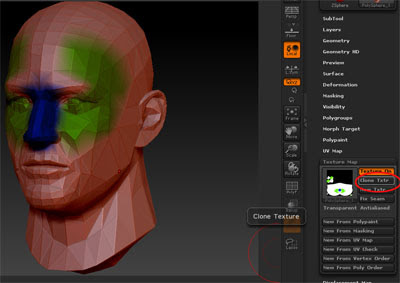
When you are ready to export the painted map, click on Clone Texture.
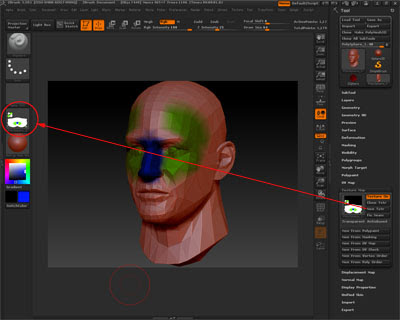
The painted map should be transferred to the left side.
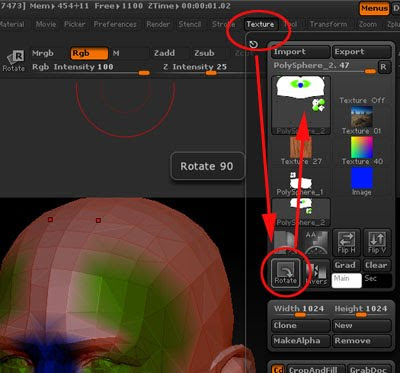
Go to Texture and Rotate the painted texture.
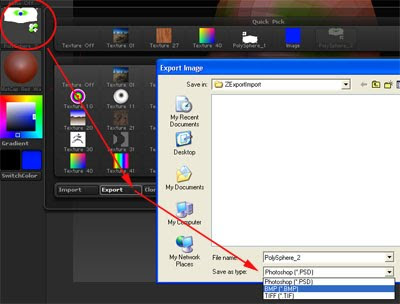
Click on the left hand side image and Export. Done!


