Making water that you can sink into and swim in is easy enough. First, you need to have an area designated for water to be in.
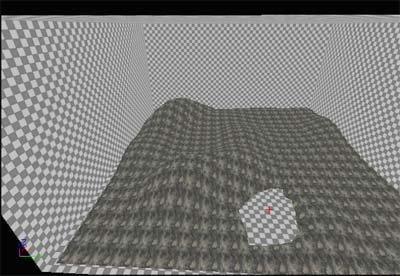
In my example, I simply hold down the Ctrl key and depress a hole in my terrain.
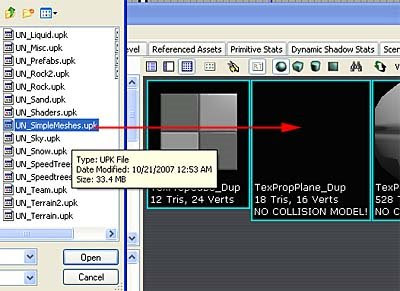
In the Generic Browser, I open up UN_SimpleMeshes.upk and choose a simple plane as the water surface.
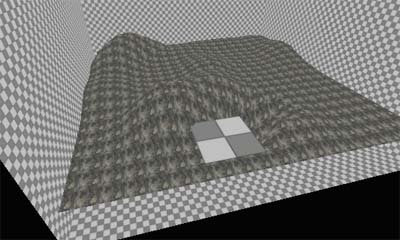
Rotate, Scale and Move the plane to the correct place.
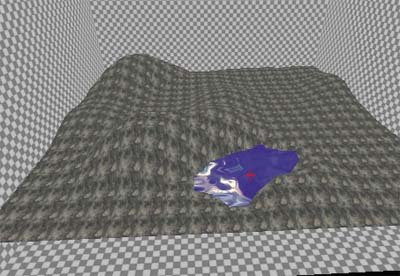
Choose or create your own liquid material. Here I simply chose one that was way too reflective but never mind... it's just for illustration purposes.

Access the properties of the StaticMesh water and turn off Collision so your character can sink into the water and also, there is no need for all that fancy lighting setups in water so disable them.
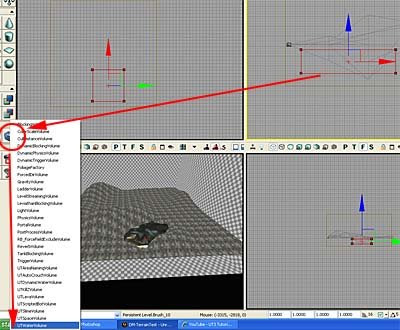
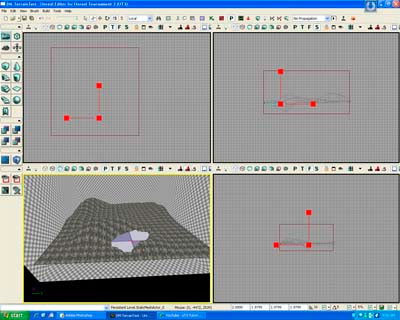
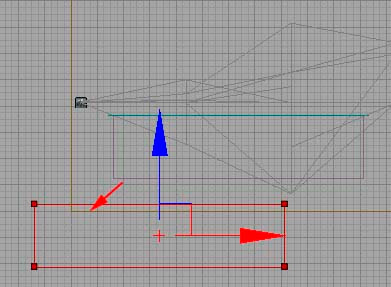
With your red builder brush, create an area that will become the water volume. Place it right underneath the water plane. Right click on the Volume icon and choose UTWaterVolume.
If you move away the red builder brush, you will find a light purple brush in its place. That's the UTWaterVolume. You can basically swim in the water already.
So go ahead and try it!
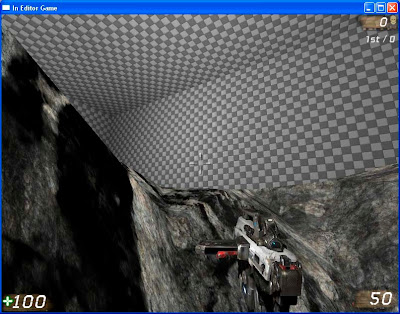
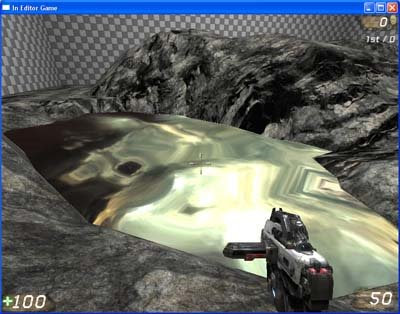
Once inside the water, you notice a problem... it feels like there is no water as the water has no colour tint, depth-of-field, or any other water distortion effects.

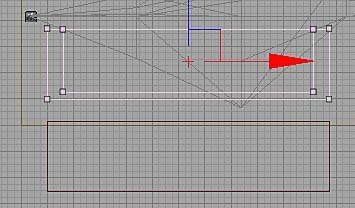
So make a bigger red builder brush. The difference between the water volume and the bigger red builder brush's volume, will solve the problems I mentioned earlier.
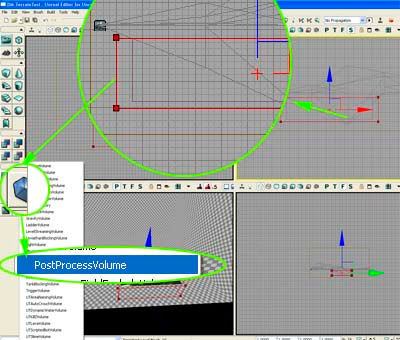
Once again, right-click on the Volume icon and this time, choose PostProcessVolume.
You will notice two different purple volumes.
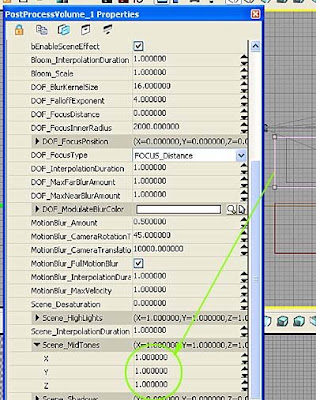
Access the properties of the second volume and you should be able to change it's colour tint and other features.
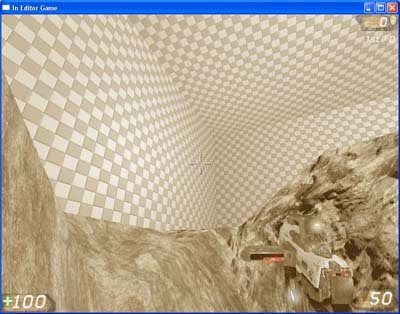
Here I accidentally created a sepia water! Chinese tea anyone?
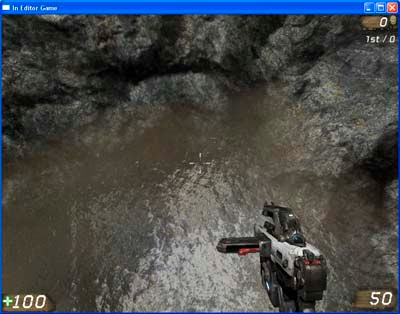
Done! You have swimmable water! Of course, choosing a better water material can give you better results. Study the water materials, some of them have nice transition effects so it looks more natural as in this one here.
 Start by right-clicking on the Generic Browser and create New ParticleSystem.
 This will be the package you will be saving it to.
 Next, Unreal Editor will open up Cascade, the realtime particle editor within Unreal.
 Upon creating New ParticleSpriteEmitter, you are presented with a very basic particle effect with 3 basic functions. Right-click to add more and more features to it as per requirement. Remember, only add stuff that makes a difference to the look/behaviour of the particle. Any small and unnoticeable effects should be avoided to keep things light and processor-friendly.
 If you open up Envy_Effects.upk from the Effects folder, you will find many ready-to-use neat effects.
 The final list of attributes for a sparks effects should have roughly these in the stack.
 Some effects like collision may not show up in the Cascade preview so check if it is working in-game.


