Wednesday, September 15, 2010

Machinima: Making Custom Character Animation Part 3


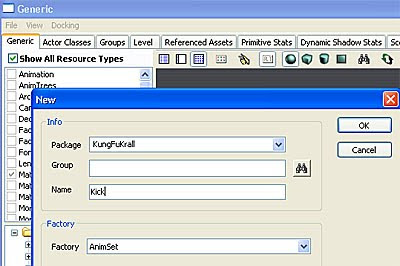
Open up Unreal Editor and in the Generic Browser, right click in the grey area and create a New AnimSet.
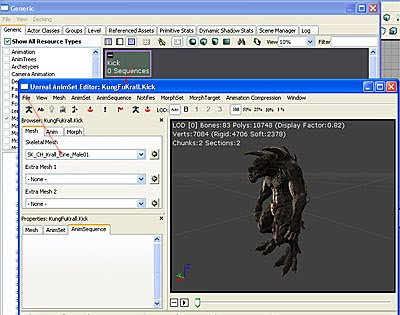

Double click on the (empty) AnimSet and the AnimSet Editor dialogue box will open up. Load up the Krall character.
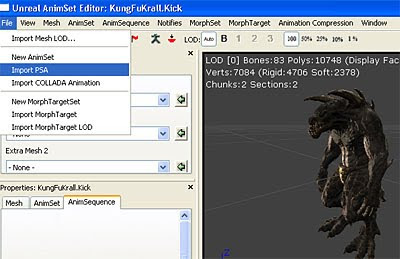

Go to File and load up the .PSA file of the KungFu animation.
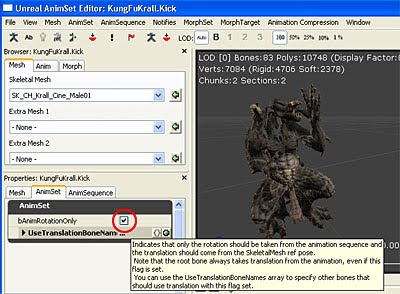

At first, the Krall will do a KungFu on the spot. Be sure to uncheck bAnimRotationOnly.
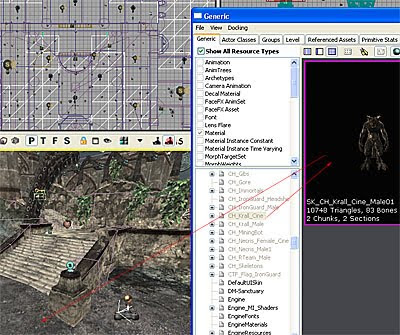

Look for the Cinematic Krall mesh under CH_Krall_Cine, click on that Krall and add it to the scene.
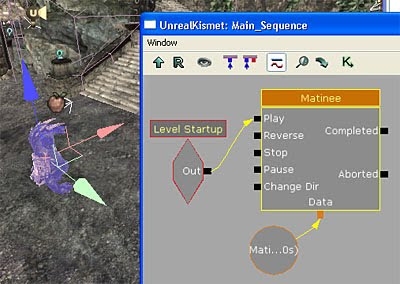

Fire up Kismet and create Matinee.
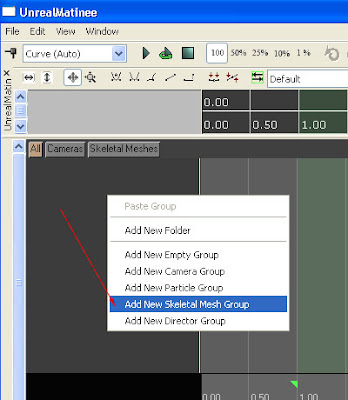

Double click on Matinee, right click on the grey area of the Matinee dialogue box, and Add New Skeletal Mesh Group and give it a name that makes sense eg. KrallAnim.
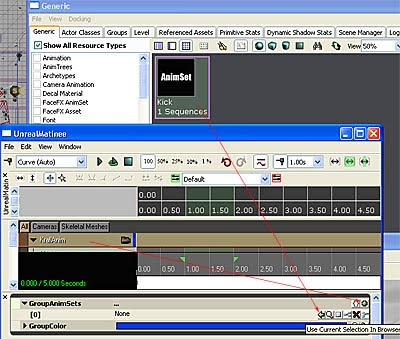

When you click on the root of KrallAnim, you will find the GroupAnimSets is currently empty. Pick that animation from the Generic Browser and assign it to the GroupAnimSets.
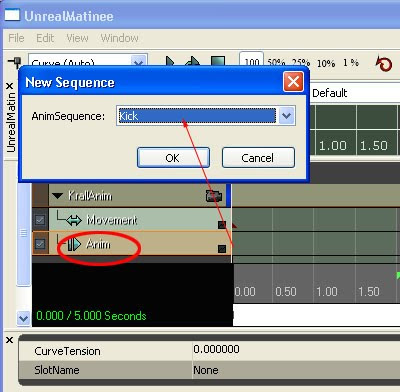

Click on the Anim bar, hit the Enter key to assign an animation (here it is Kick).
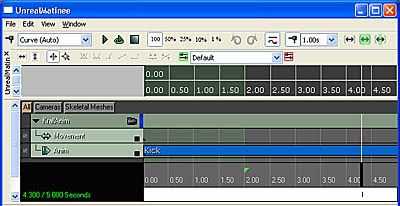

It should be like this. Adjust the timeline and run the animation in realtime to see it in action. Done!
Tuesday, September 14, 2010

Machinima: Making Custom Character Animation Part 2


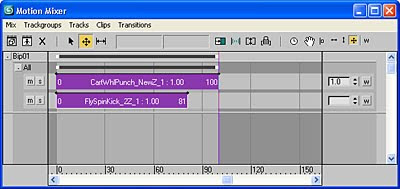
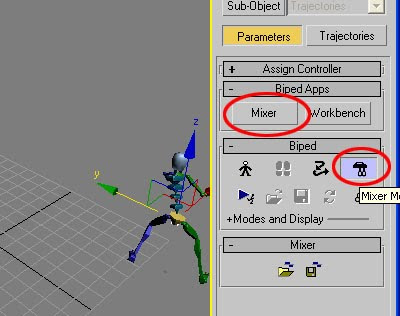
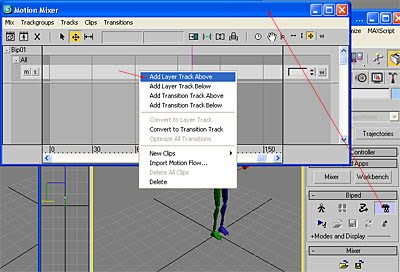
Click on the Motion Mixer icon to open up the Mixer dialogue box. Right click on the dialogue box to add another layer. You will need two layers if you have two motion capture clips.


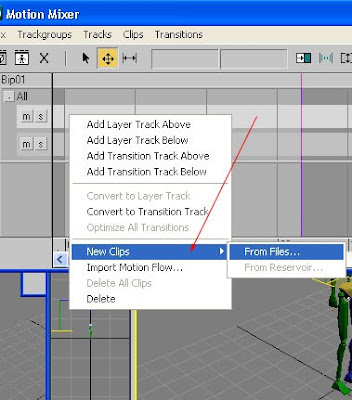
Right click to insert a motion capture clip as in the diagram.


At first, your dialogue box should look roughly like this. You will need to align the clip so that the correct animation plays at the correct timeline.


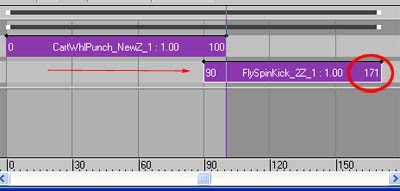
Drag the second clip as per your liking.


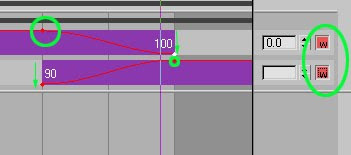
Next, click on the "w" button to invoke weightage to your mocap clips. Then add points to the timeline clips so you can drag the weight percentage of the clips between 0% to 100% (somewhat like Adobe Premiere).


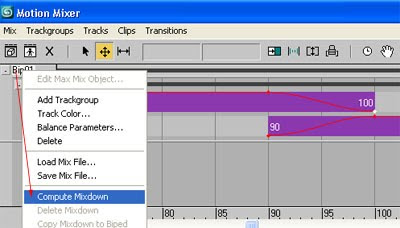
Once happy, click on the word "Bip01", right click and "Compute Mixdown".


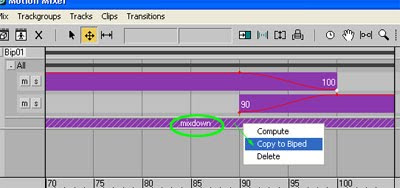
Once the mixdown is computed, it still is not committed to the biped. This is evident when you close the Mixer icon and you will find that nothing has changed. So to commit the change, right click on the mixdown, and Copy to Biped.


Close the mixer dialogue box and see the final results.


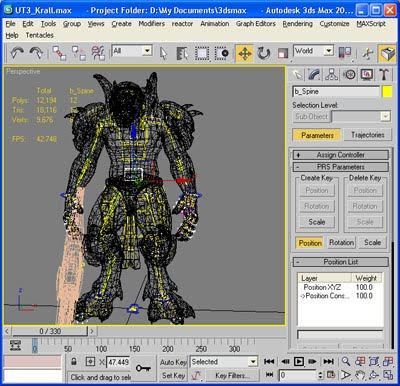
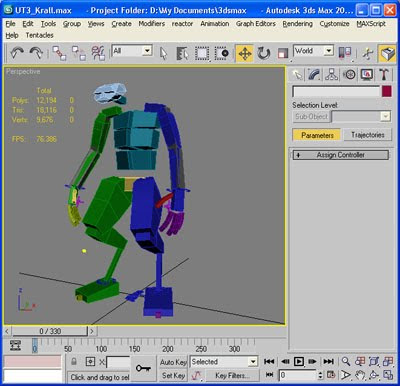
Open up the Krall model which you can download from UDN.


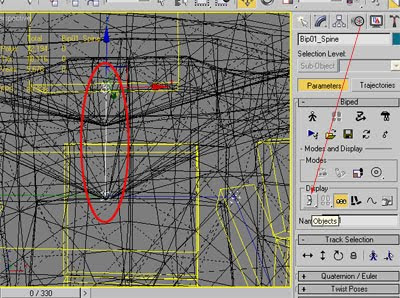
At first, you may not be able to see the Character Studio bone (of which you wouldn't be able to incorporate your custom mocap). So zoom in to the Krall, you will notice a very thin line. Click on that line and change the view mode to "Object".


You Krall structure would look like this.


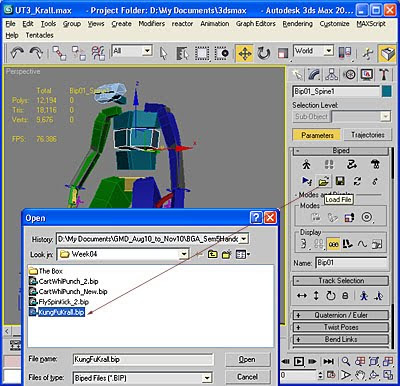
Click on a bone in the Character Studio, go to the Motion tab, and open the customised mocap file.


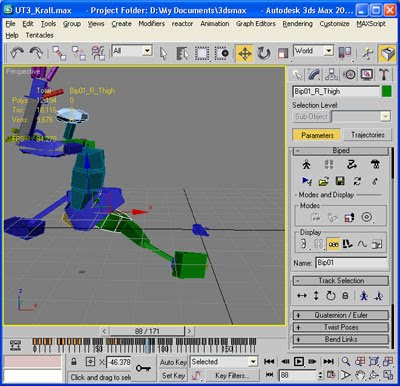
You Krall will now be doing a KungFu action! Remember to export the animation to .PSA format using the ActorX plugin.

In Part 3, we will go into Unreal Editor itself to incorporate that custom animation.