
First, get yourself some motion capture files (or keyframe some animations). Open up Character Studio like in the diagram.
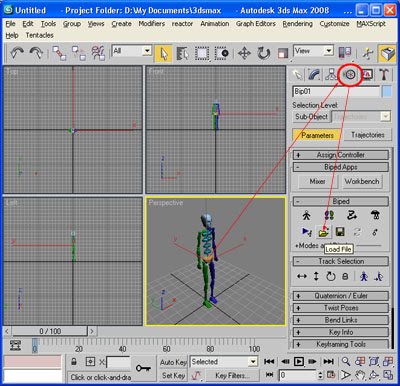
Remember that Character Studio is a max plugin and in most respects, it is pretty much a different software altogether. Thus, some of the workflow is very different from max. Click on any body part of the Biped character, then click on the Motion tab. This will open up the Biped parameters. You can then access the Open folder icon to open up the motion capture files of your choice.

Examine your mocap files. The last frame of the first file and the first frame of the second file should have the same centre point for the character. This way, the transition animation between the two files will be seamless and smooth. If it is not, the move the centre point so that they align. You can observe the centre point by clicking on the Footsteps icon.

Expand upon the Layers menu. Create Layer and select Bip01 and move it to the centre point. Remember to turn on the Auto Key button to record the animation.

You will see a red silhoutte. That is the position of the original animation as opposed to the new position of your animation.

Click on the Collapse layer button to flatten your layer and commit all the new keyframes onto the old keyframes.

In order to blend the two animation clips together, you need to save the readjusted animation clips. Click on the icon and save accordingly.
In Part 2, we will learn how to use Motion Mixer inside Character Studio to mix the two (or more) animation clips together so they blend seamlessly.